How to use Plesk Slave DNS Manager with cPanel DNSONLY
Plesk and cPanel are the main tools for hosting platforms nowadays. While both of them are very good and solid in Linux, Plesk is the only option when it comes to Windows, so one may have to use both tools to manage his/her hosting servers. Using two different tools on two different platforms (Windows and Linux) requires different bits of knowledge and sometimes, more resources. Centralized DNS is a good idea when it comes to optimizing the resources and reduce the management overhead. With Centralized DNS, you can be able to use a single set of name servers for all of the domains you host on your servers. Lucky for you, both cPanel and Plesk supports Centralized DNS but with different approaches. I, as many of the others, use Plesk for my Windows hosting platforms while using cPanel on Linux. cPanel DNSONLY is a good tool for Centralized DNS and It is easy to use and deploy. Plesk Windows, on the other hand, comes with Windows DNS and DNS Slave Extension can be used for Centralized DNS. Combining the two, on the other hand, is possible (in theory) but requires some tweaks on both sides. But using one master node to rule them all (see what I did there?) is a huge gain, so in this post, we will learn how to BIND them.
Install Plesk DNS Slave Extension
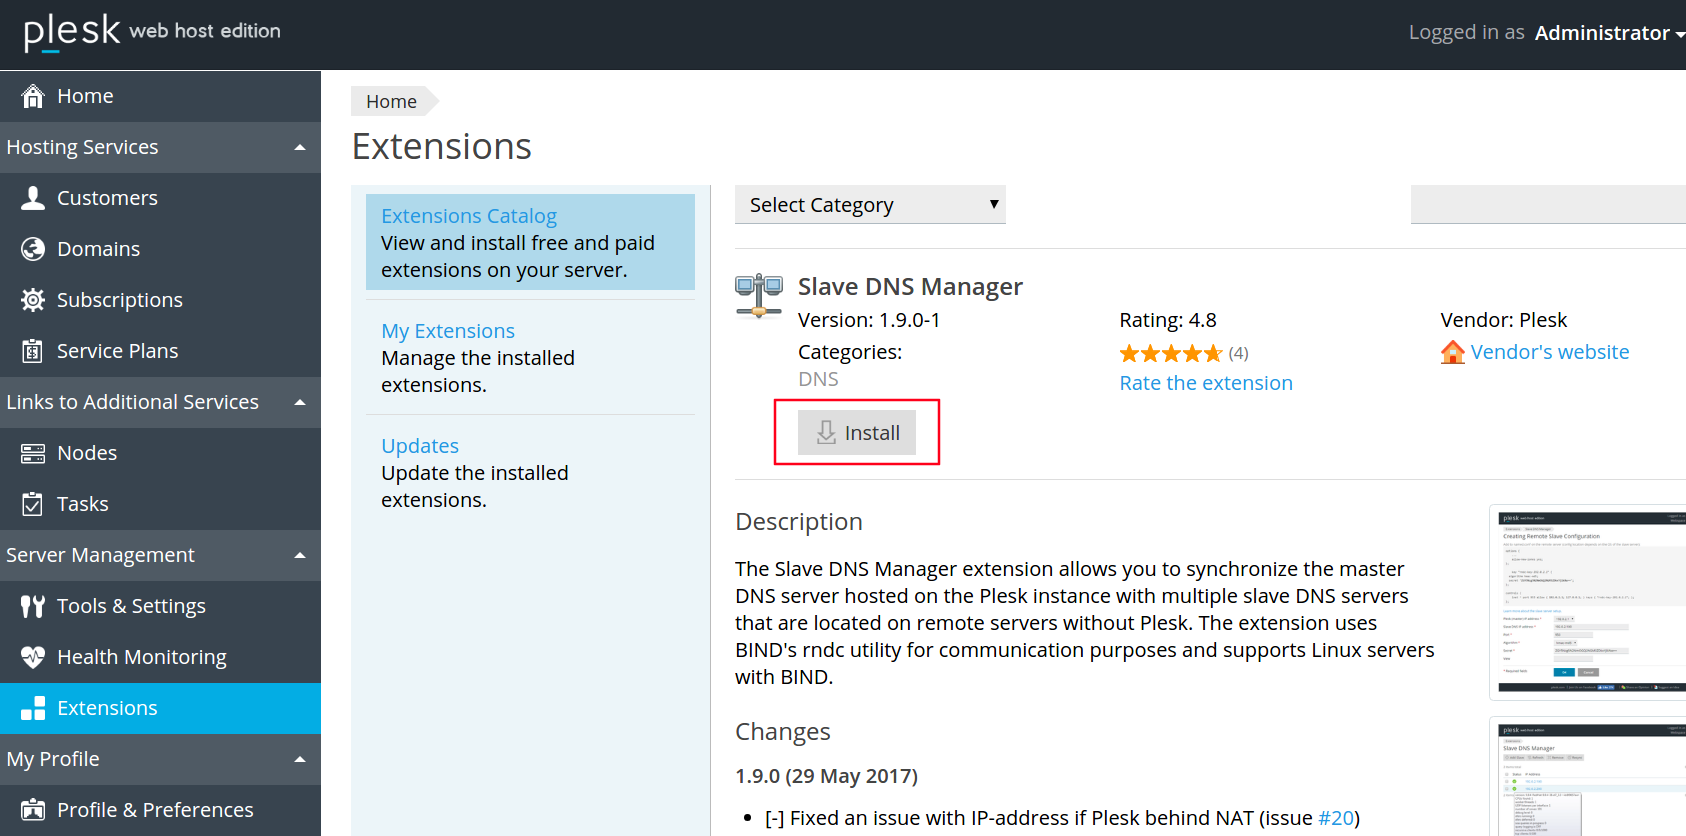
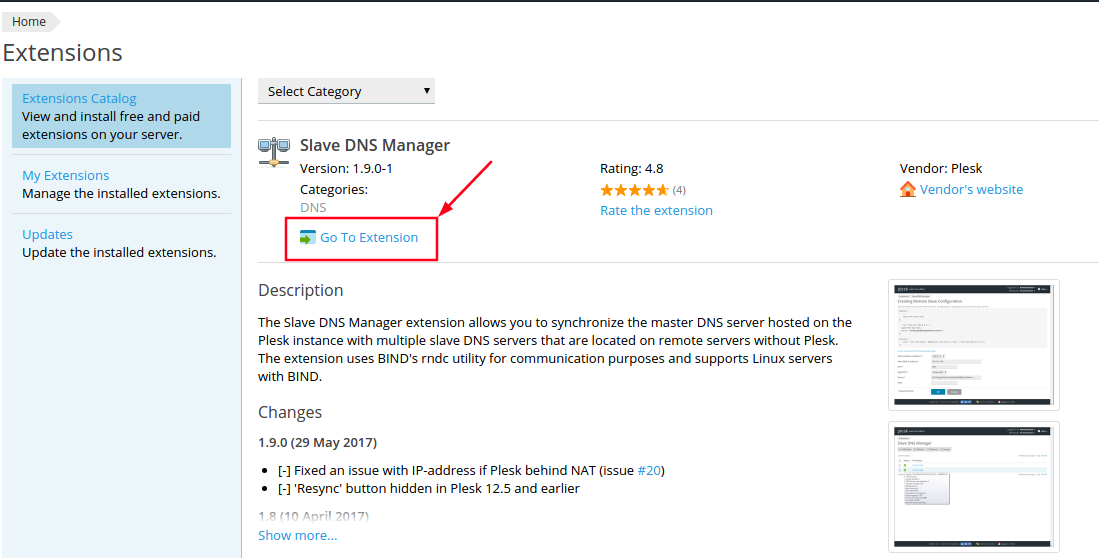
Installing Plesk DNS Slave Extension is very straightforward and easy with using the Extensions Catalog in the Plesk UI. Just click Extensions in the side menu and search for the Slave DNS Manager and click install. After the installation has finished, click Go to Extension button to add DNS slaves.
Setting Up Slave DNS Servers
cPanel DNSONLY installation contains three simple steps wich can be summerized as;
1) Go to home directory;
cd /home
2) Download installation script;
curl -o latest-dnsonly -L https://securedownloads.cpanel.net/latest-dnsonly
3) Execute;
sh latest-dnsonly
The installation process can fail if your operating system is using NetworkManager so you might want to disable NetworkManager and use network service instead. Check out this link for more information; How to disable NetworkManager on CentOS / RHEL 7
Adding DNS Slaves
After the installation, one can easily add DNS slaves to the system with few simple steps;

1) Enter Slave DNS address
2) Change Secret key with your own secret on your cPanel DNS server
more /etc/rndc.key
3) Save your old named.conf as named.conf.old, create new config file on your cPanel DNSONLY server and add required lines;
mv /etc/named.conf /etc/named.conf.old
vi /etc/named.conf
and add required lines. Your named.conf should look like this;
include "/etc/rndc.key";

controls {
        inet * port 953 allow { YOUR PLESK SERVER IP; 127.0.0.1;} keys { "rndc-key"; };
};

acl trusted {

     YOUR PLESK SERVER IP;
     DNSONLY IP;
};

options {
        listen-on port 53 { 127.0.0.1; YOUR PLESK SERVER IP; };
        listen-on-v6 port 53 { ::1; };
        directory       "/var/named";
        dump-file       "/var/named/data/cache_dump.db";
        statistics-file "/var/named/data/named_stats.txt";
        memstatistics-file "/var/named/data/named_mem_stats.txt";
        allow-new-zones yes;
        allow-transfer { YOUR PLESK SERVER IP; };
        masterfile-format text;

        recursion no;

        dnssec-enable yes;
        dnssec-validation yes;

        /* Path to ISC DLV key */
        bindkeys-file "/etc/named.iscdlv.key";

        managed-keys-directory "/var/named/dynamic";

        pid-file "/run/named/named.pid";
        session-keyfile "/run/named/session.key";
};

logging {
        channel default_debug {
                file "data/named.run";
                severity dynamic;
        };
};

zone "." IN {
        type hint;
        file "named.ca";
};

include "/etc/named.rfc1912.zones";
include "/etc/named.root.key";
and restart your BIND using;
service named restart
4) Click OK to continue.
Change Windows DNS to BIND on Plesk
Default Plesk installation comes with Windows DNS but we have to switch it to BIND in order to integrate it with cPanel DNSONLY. To do this;
- Go to Tools & Settings > Updates and Upgrades and install the BIND DNS server using the Plesk Installer.
- Go to Tools & Settings > Server Components and click DNS Server.
- Select BIND DNS Server and click OK.
Exterminate the Bug on Plesk Windows
Plesk Windows comes with a bug which causes DNS zones served by Bind DNS server on Windows are not synced with the slave DNS. As a workaround;
- Connect to the server via RDP
- Create Plesk database backup (optional)
- Add fallowing line into Plesk Database Manually
plesk db "REPLACE INTO misc VALUES ('DNS_Allow_Transfer0', 'YOUR SLAVE IP');"
You can find more information about this bug in here; Zones are not transferred from Bind on Windows .
Enjoy Your New Centralized DNS Setup
Your Centralized DNS setup is ready to go, but you might want to correct one more thing if you want to use your new setup with cPanel DNS Clusters. cPanel stores DNS records in domain.ltd.db format instead of domain.ltd and this causes malfunctions (read as DNS clusters are not syncing) on DNS Cluster setup. In order to overcome this, rename your DNS records as domain.ltd.db and manually push your records on your master cPanel DNS ONLY server with;
/scripts/dnscluster syncall --full
you can also automate this process with simple script added on cron jobs. And that’s it! Enjoy your new centralized DNS setup with Plesk DNS Slave Manager and cPanel DNSONLY!